

One of my new year's resolutions was to get back to making pottery pieces. Simultaneously, my cousin Marie was actively looking for white handmade square pottery plates, and I thought attempting to make the square plates would be a good way to dip my toe back into pottery making.
I started with a 25lb bag of mid-fire Cone 5 white clay, which I rolled into 1/4" slabs using my slab roller table.

I found this YouTube video that recommended using square Chinet dinner plates as a hump mold to create the square clay plate shape. Unfortunately, I did not take any pics of turning the slabs of clay onto the molds and creating the plates, but here is a finished pic of my dried clay plate. (Looks just like Chinet paper plate doesn't it?)

Once the clay plates completely dried (this took about a week of covered, slow drying), they were ready to go in the kiln for their bisque firing. I bisque fired them to Cone 06, which fires at a temp of about 1900 degrees.


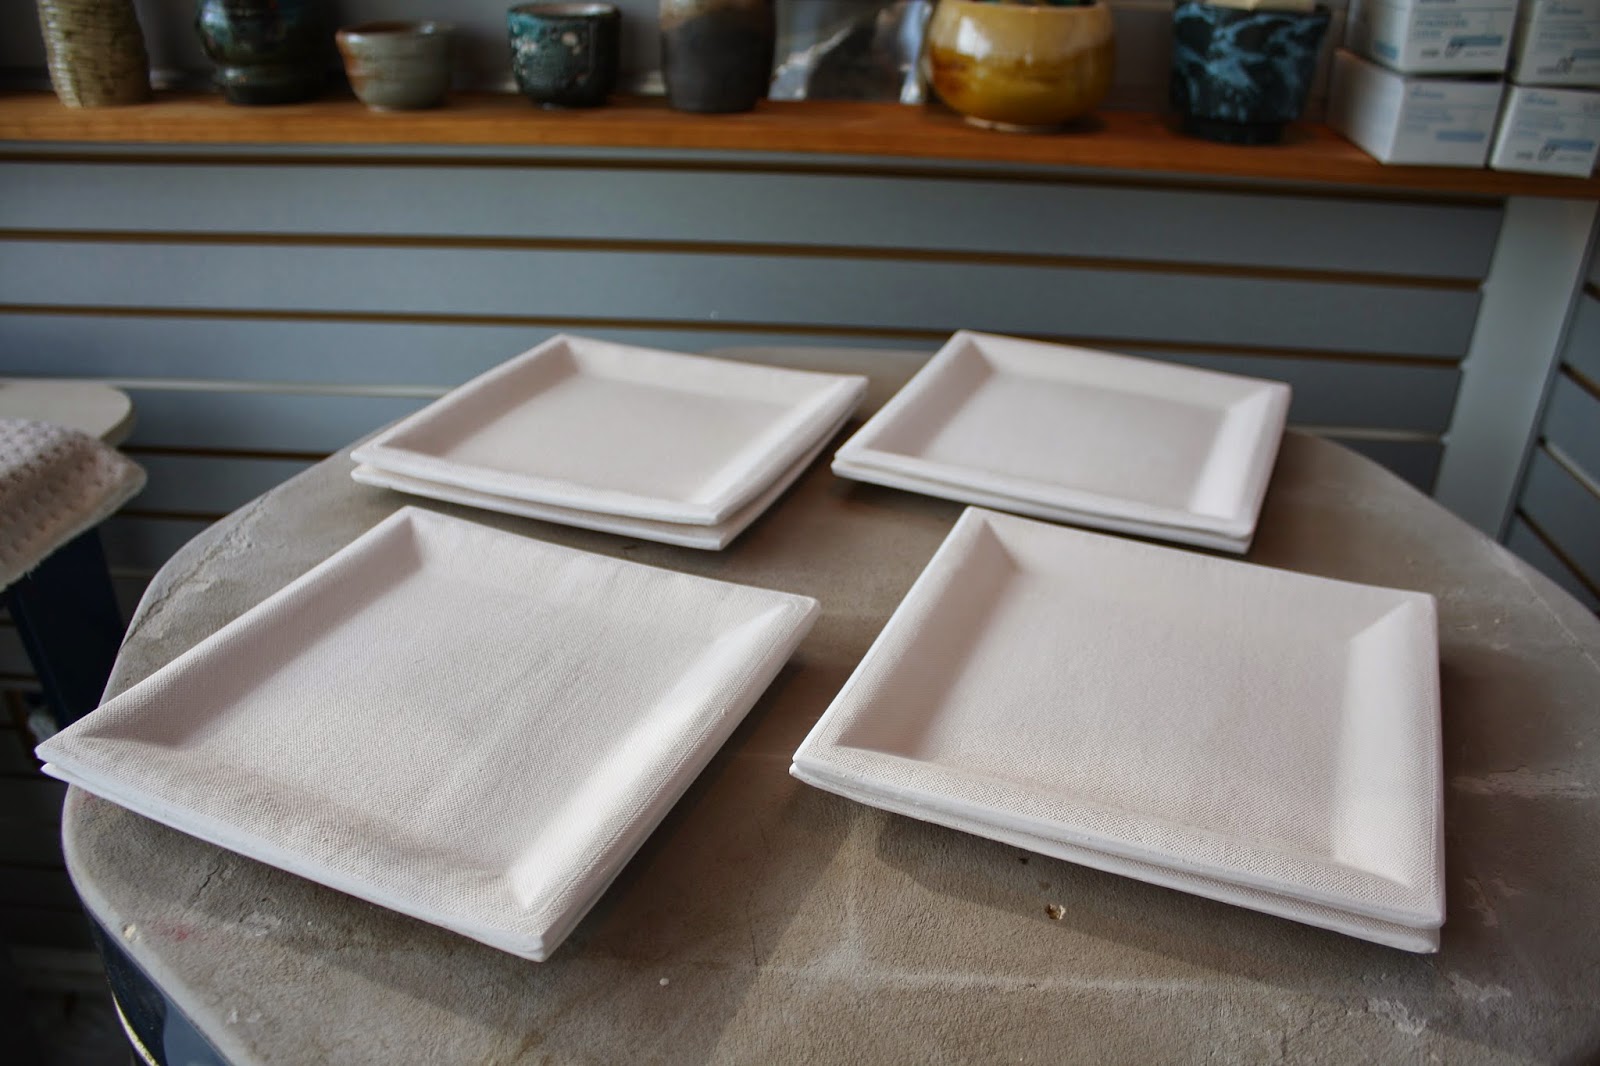
The kiln fires for about 10 hours then shuts off, and takes another 10-12 hours to cool down enough to be opened (about 150 degrees). Below are the plates after they have been bisque fired. They pretty much look the same as they did as dried clay.
The next step will be to glaze the plates and fire them again. I have several glaze color options, but I'm going with white for the plates. Here are my glazes, and a pic of test tiles I made of the glazes once upon a time.


After all of this hard pottery work, I think I'll visit the other side of the cabana for a cocktail. Our cabana got turned into a bar for Tyler's 40th birthday party last fall, and has remained a popular attraction of our backyard.


