
Earlier this year, I posted about our laundry room, which looked like this when we bought our bungalow in 2003.

Here's a visual recap on the renovation of this laundry/bathroom, which has spanned 5 years.


Room gutted to the studs, and new outside door installed to access back deck

Drywall, a sub-floor and new rough plumbing

.....and new tile
Then finally... the laundry nook was finished

Next up was to install a sink. The room is small, so we decided to try making a floating sink to keep the floor space open.

Tyler started the floating sink by mounting a 2 x 4 wood box to the wall as a base. Using birch plywood, he made the sink base, creating counter space to the sides of the sink.


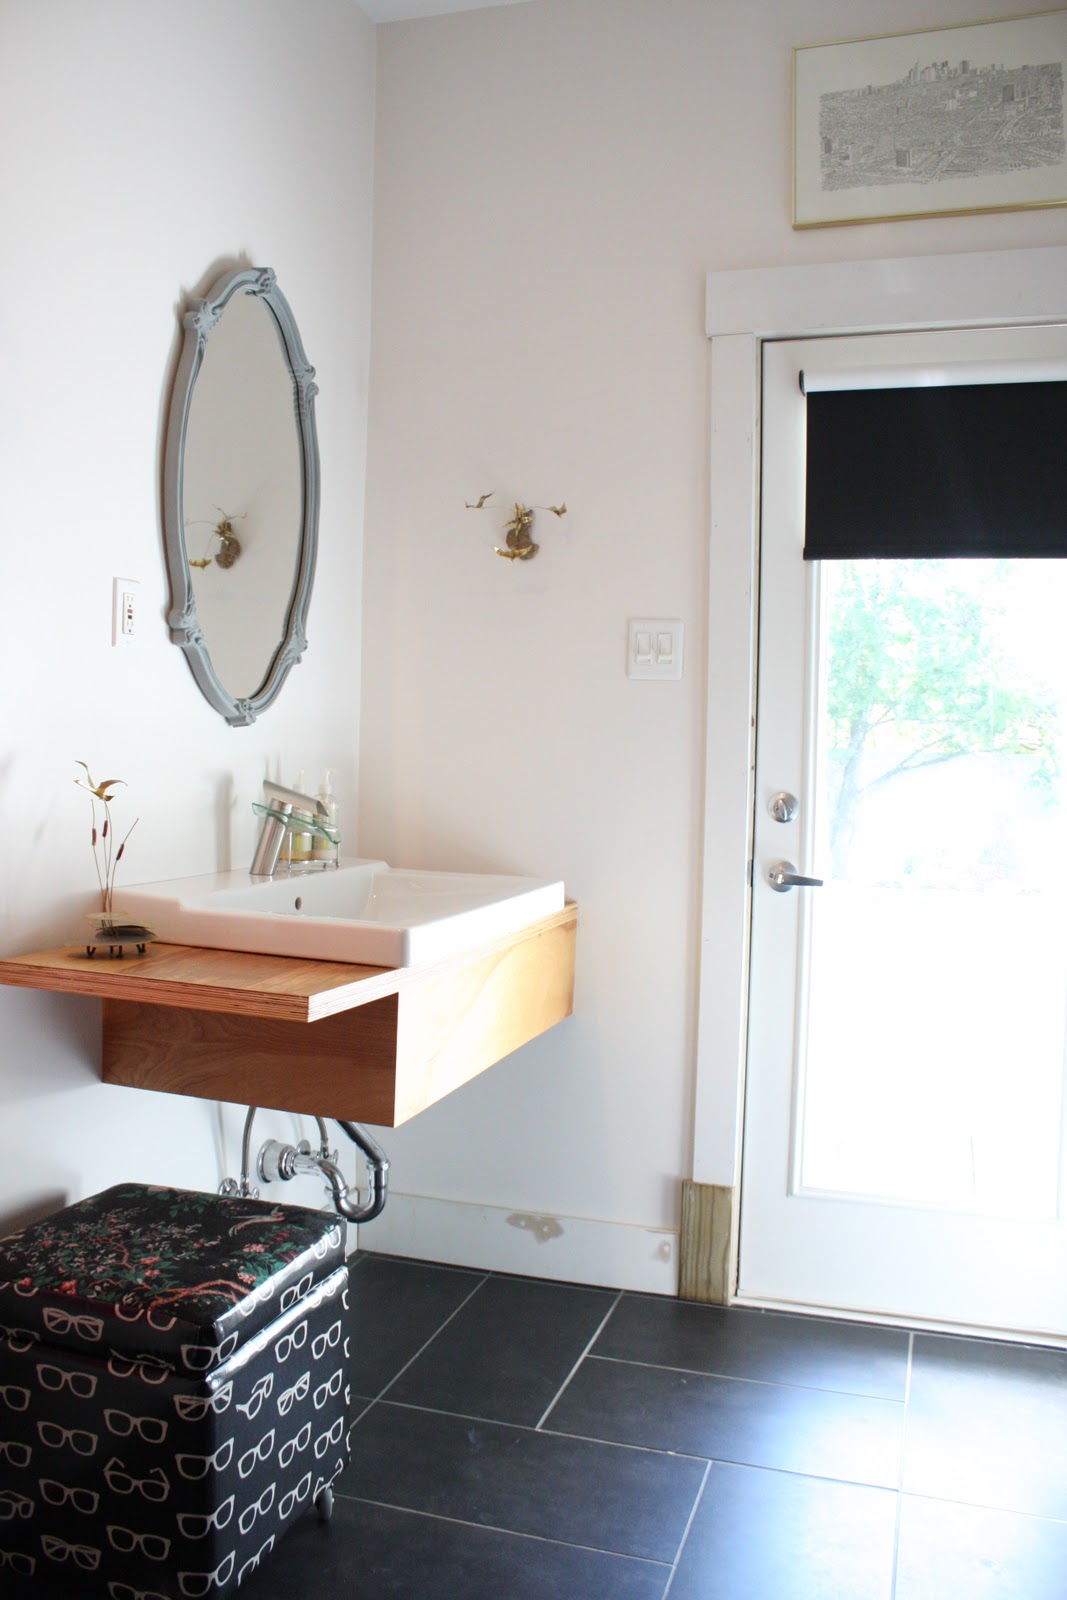
....and here is the finished floating sink

We also put in a toilet...pretty exciting...I know.
There is still painting to do in the room, and a shower to finish out, but those things probably won't happen this year. Hopefully, we don't hit the ten year mark on renovating this bath. Maybe there is an HGTV show for longest, drawn-out renovation ever. This bath could enter. Here are some more shots of the room in it's current state.


3 comments:
Please tell me that you kept the flowered tub. It is so cool! I love the light and space usage in your bathroom. Also, I think you've found the perfect gray; you painted your mirror it.
I wish I could have kept the tub, but it had a giant crack running the length of the bottom of it. The sides were painted, and the flowers were stickers. It was a crazy craft project. I did manage to save the feet though. You can see them here.
http://christiechase.blogspot.com/2010/05/183claw-foot-refurbish.html
Did you have any concerns about the weight of the sink? Were you able to support it fully with the wood box that was mounted to the wall? Would you recommend brackets as well?
Post a Comment